How to grow a stone plum at home
Content:
Growing plum from stone has a number of advantages, but it is also not without its disadvantages. This method of propagation of a fruit tree is resorted to if you want to preserve all the characteristics of the selected variety. But if you do not know how to grow a plum from a stone correctly and do not follow a number of care recommendations, instead of the desired harvest, you can get small game.
Growing plum from stone - advantages and disadvantages
Sprouting a plum seed at home with the further placement of seed in open ground has a number of advantages:
- no risk that the seed will be destroyed by mice and other rodents;
- formed root system by spring;
- the ability to control the development of seedlings;
- timely application of dressings, which accelerates the process of plant development.
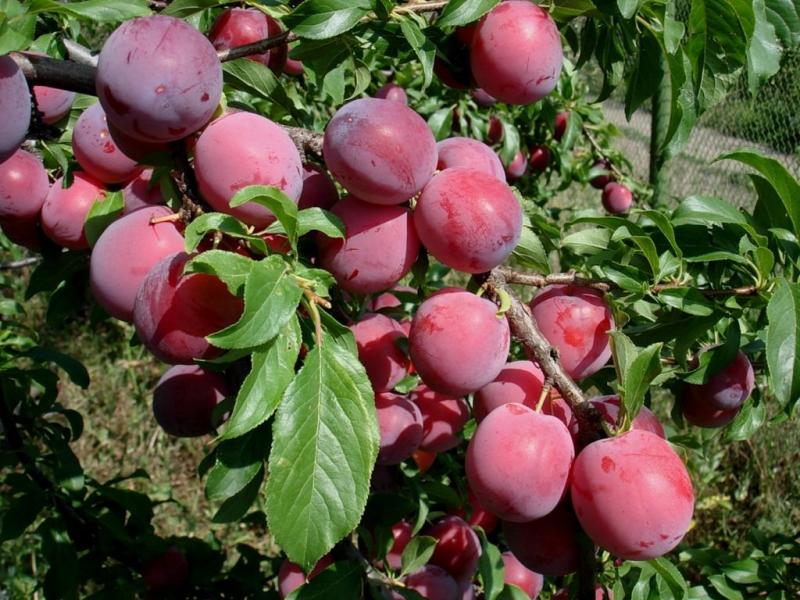
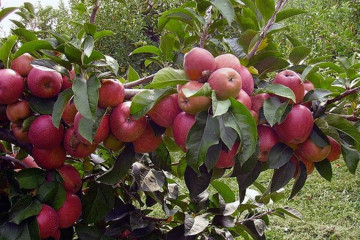
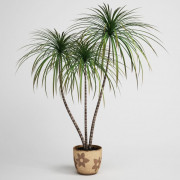
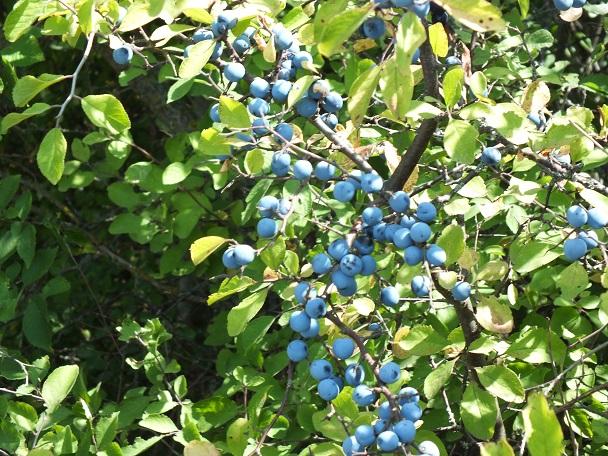
Plum is one of the most popular fruit plants
The disadvantage of this planting method is that there is a high risk of getting wild. To prevent this from happening, it is necessary to choose strong plants with stable grade characteristics for collecting seeds.
Will a seed-grown plum bear fruit
The genetics of pitted plums is influenced by insect cross-pollination. If you choose the wrong seed, you get either a wild plant with small, unusable fruits, or there will be no fruiting at all.
If you know how to grow a plum from a stone at home and properly care for seedlings in the future, you can get a good harvest.
Getting inedible wild game instead of tasty and meaty plums is a common problem for gardeners.
Choosing a variety suitable for planting
It is recommended to grow stone plums from the following varieties of mother plants:
- Chinese - the most popular for the Moscow region.
- Ussuriyskaya.
- Canadian.
Preparing for disembarkation at home
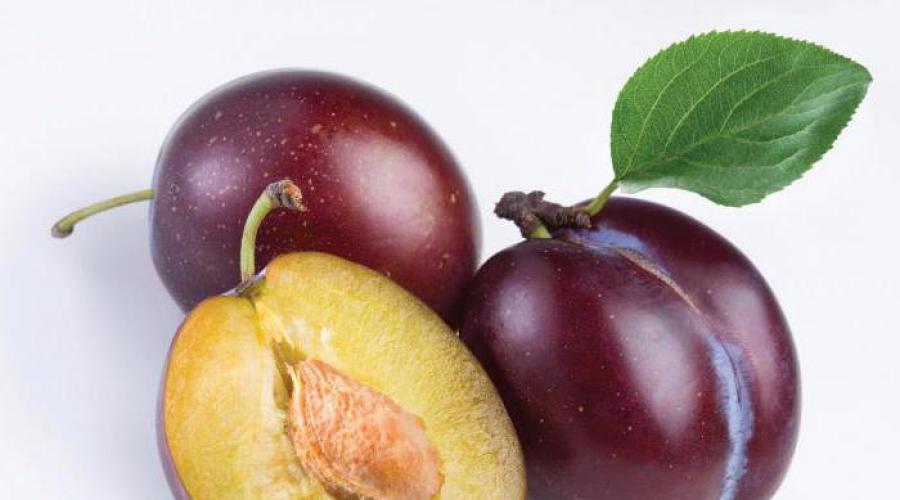
To grow a plum from a stone, you only need to select fully ripe fruit without any damage to harvest the seed. The plant itself, from which the plums are taken, must also be healthy.
Selection and preparation of seed
It is recommended to harvest and plant several seeds, since there is a possibility that not all of them will be able to germinate or give a strong plant.
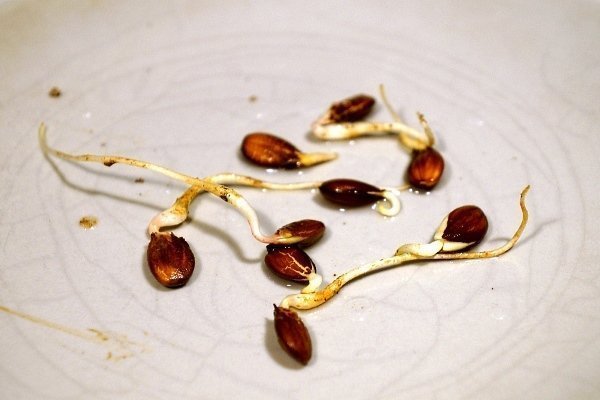
The bones must be intact, without traces of pests
The bones need to go through the process of stratification - keeping the seed in a humid and cold environment, which will help stimulate their germination. The preparation of inoculum includes the following manipulations with it:
- Put the selected bones in a container, fill them half the height with water. Soak in liquid for 3 days. The water must be changed daily, the bones must be turned over.When soaked, the shells swell, inhibitors are washed out - substances that inhibit the germination process.
- For stratification, a small container is prepared, in which holes are made on the sides to ensure air exchange. This is necessary to prevent fungal diseases.
- The prepared substrate is poured into the container for stratification. For its preparation, you can use low-lying peat, river sand of a coarse fraction, perlite or sawdust.
- The seeds are placed on a substrate, the container is covered with a plastic bag or glass jar on top.
Correct stratification increases the chances of seed sprouts
The process of stratification itself is not complicated, it is within the power of a novice gardener. Consists of the following steps:
- Warming up - keeping the seed at temperatures from +15 to +20 degrees for 15 days.
- Cooling - a container with bones must be placed in an environment with a temperature of + 1-5 degrees. The cooling period should last from 60 to 80 days. The most suitable place is the bottom shelf of the refrigerator.
- Pre-sowing stage - the temperature drops to 0 degrees, the duration is from 20 to 35 days. This stage is the most important, the appearance of possible seedlings depends on it.
The fact that the bones are ready to move into the nutrient soil into a new container will be indicated by the cracked shell on them.
Priming
The prepared seeds are planted in fertile soil. You can prepare it yourself by mixing the following components in equal parts:
- peat or leaf land;
- humus;
- vermiculite.
After thoroughly mixing the ingredients, add 0.5 parts of perlite or river sand, which must first be calcined.
Pot
For planting seeds, a pot with a diameter of about 20 cm is selected.
Planting a bone in a container
Water must be abundantly watered before lowering the seed into the ground. The bone goes deep into the ground to a depth of 5 cm; it must be placed in the middle of the container. Cover with plastic wrap on top.

The advantage of indoor plum harvesting is that the seedling is protected from bad weather and pests.
Every day, the film must be removed to ventilate the ground in order to avoid mold on it. Watering the soil is carried out as its top layer dries out. If all conditions are met, the seedlings will appear in about 40-50 days.
Care of seedlings in pots
When seedlings appear, for their successful rooting and rapid growth, it is necessary to provide comfortable conditions, which include the following aspects:
- Watering - no more than 2 times a week, but plentiful. Water is used only at room temperature, settled for 2-3 days. It is recommended to place a plate of water under the container.
- Lighting is abundant, but diffused. It is important to avoid direct sunlight to avoid burns. If the container is in a dark room, it is necessary to illuminate the seedlings with fluorescent lamps.
- Temperature - for seedlings, it is necessary to maintain a temperature regime in the range of + 20-25 degrees.
- Humidity is high; it is recommended to regularly spray the seedlings with water to maintain it.
- Top dressing - fertilizers are applied from the emergence of sprouts and until the end of the growing season three times. A solution of 10 liters of water and 30 g of ammonium nitrate is used. Consumption per plant is about 100 ml.
- Picking - as soon as 2-3 leaves appear on the seedling, they are pinched 1/2 of the root length. This procedure promotes the formation of a strong root system. After picking, the young plant must be transplanted into a new nutrient soil and watered.
Open ground transplant
You can plant a sprouted seed in open ground about a year after planting the seed in a container. For spring planting, the plum area is prepared in the fall, for autumn planting - in the summer. Seedlings must be hardened. First, they are taken out into the street for 5-10 minutes, gradually the staying time of the future plum in the open air is brought to 1 day. Hardening is carried out 7 days before disembarkation.
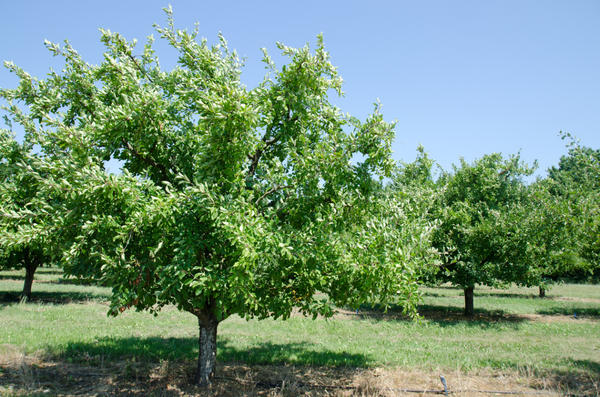
When choosing a place, it must be borne in mind that the plum is a large and split plant, it should not be cramped in the garden.
Site preparation:
- The dimensions of the pit are about 60 cm deep, 80 to 100 cm in diameter.
- Fertilizer, which is added to the soil when it is dug up, is a mixture of 30 g of potassium salt, 6 kg of compost or manure, 60 g of superphosphate. This amount of the mixture is calculated for 1 sq. m.
- The nutrient mixture with which the pit is filled - 20 g of potassium sulfate, 2 buckets of manure, 30 g of superphosphate, 2 buckets of purified river sand. When digging a hole, part of the earth must be set aside; it will be needed to completely fill the hole.
Step-by-step planting of a seedling in open ground:
- At the bottom of the prepared pit, the prepared nutrient mixture is poured out in a mound.
- The seedling is carefully removed from the container in which it grew at home. When placing a plant in a hole, it is necessary to carefully spread its root system. Do not bend the roots.
- The root collar of the plum should be about 5 cm above the soil.
- Cover up the seedling. This must be done with high quality, avoiding the appearance of voids in the soil. For this, the earth is covered in layers, the stem is periodically shaken.
- After planting the cutting, the soil must be tamped, watered.
- After watering, mulch is placed.
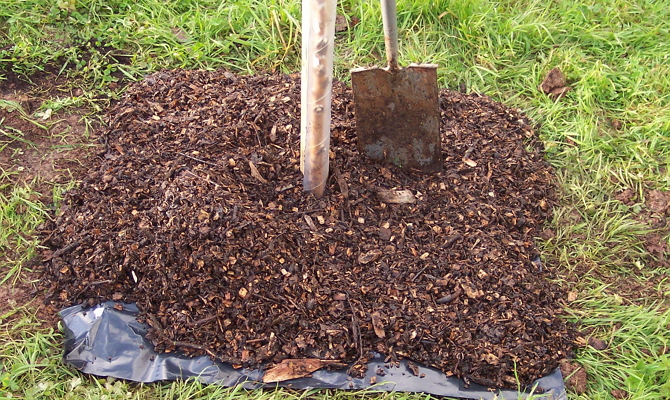
Recommended mulching materials - peat or sawdust
Planting bones in open ground
Plum pits can be planted directly into open ground. Then the necessary process of stratification will occur naturally in the earth. It is important to find a suitable place - with abundant, diffused light, which will ensure a bountiful harvest. You can plant the plant in partial shade, but most of the day there should be no shade. The soil should be loose, fertile.
Instructions for planting seeds in the ground in the country:
- You need to prepare at least 10 seeds, since not all of them will be able to germinate.
- Along the perimeter of the place where the drain will be placed, paper is dropped, which is pre-soaked in tar. This is necessary in order to protect the seed from rodents.
- The dimensions of the pit are 60x60x60 cm. Manure is poured at the bottom, broken branches, a thin layer of river, purified sand, compost or humus are placed on top of it.
- After a month, when the earth settles, the bones can be lowered into it to a depth of about 10 cm. The distance between them is from 20 to 30 cm. It is recommended to mark the location of each bone with small pegs.
The right time is spring or autumn. For spring planting, seed stratification must be carried out in the refrigerator or outdoors if the weather is cold. Seed can be placed in the ground immediately after the snow melts. With autumn cultivation, from the second week of October, stratification will take place in the natural environment.
If several seedlings have sprung up, it is necessary to leave the strongest and most well-developed of them.This is the guarantee that the plant will turn out with a good immune system and high resistance to various diseases.
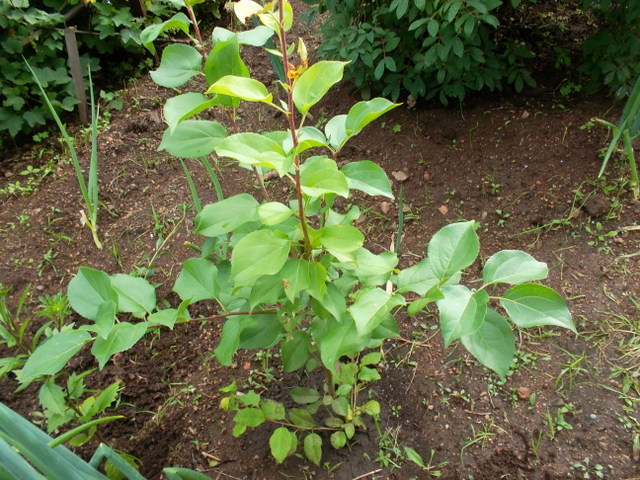
Of the sprouted seedlings, the strongest must be left
The timing of the onset of fruiting
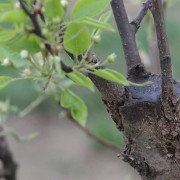
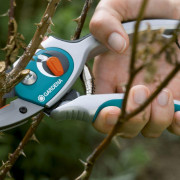
Plum, which was grown from a seed, will bear fruit, but the quality of the crop depends on the correct care of the plant. The first plums will appear no earlier than in 4-6 years. To ensure a bountiful harvest, plums must be fertilized and pruned regularly. The plant must be grafted without fail. Without this procedure, the harvest will not only be poor, but the very process of forming the first plums will begin with a delay of several years. In addition, the plum will not be able to maintain its grade.
Watching how seedlings appear from the planted seed, which will later become a beautiful plum, is a very exciting and not at all complicated process. The seed can be prepared indoors, in a flowerpot, or can be immediately placed in open ground. The success of the work depends not only on the quality of the seeds, but also on the correct care.