How to transplant gloxinia - step by step instructions at home
Content:
Gloxinia attracts flower growers with its unusual-shaped buds and a variety of flowers. For normal growth and development, the plant needs regular transplants.
Why transplant gloxinia
Moving an indoor flower to a new pot may be required in different situations. Cases when it is necessary to transplant gloxinia:
- primary planting of young tubers;
- picking seedlings into an individual container when germinating a flower from a seed;
- transplanting a plant from a purchased container;
- the need to change the planting capacity after hibernation.
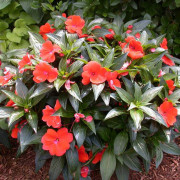
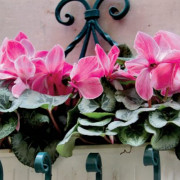
Bright gloxinia flowers will decorate any windowsill
Also, transplanting gloxinia from one pot to another may be required when a flower is infected with a fungal disease or in order to control insect pests.
When to transplant gloxinia
Before sending the pot with tubers to a cool, dry place to rest, where it will be until next spring, the plant should bloom. After the completion of the flowering stage, the gloxinia bush gradually withers, its leaves die off.
A flower transplant is carried out at the very end of winter or early spring. In this case, it is not at all necessary for the plant to have the first sprout.
Is a transplant always required after winter
Gloxinia tubers can rot from being in the same soil. That is why the procedure should be carried out regardless of whether there are clear indications for replacing the pot and soil.
Is it possible to transplant flowering gloxinia
Flowering plants do not like transplants during flowering. But if the situation is critical, and gloxinia is threatened with death, the movement is carried out regardless of seasonality. An obligatory event for the care of gloxinia at home is a flower transplant after purchase.
Preparing for transplant
When moving a flower from one pot to another, it is important to first figure out how to transplant gloxinia correctly. Compliance with the basic requirements will avoid many problems.
Pot selection
When choosing a planting container for gloxinia, it is important to take into account the characteristics of the root system of the flower. The roots diverge to the sides of the tuber, so it is recommended to pick up a low, but wide pots. The depth of the pot should be sufficient to accommodate the drainage layer needed by the flower. Of all the materials, it is better to choose ceramics.

The flower feels most comfortable in a low wide planter
Selection and preparation of soil
The soil for indoor gloxinia needs light, loose, air and moisture permeable. Its acidity should be neutral so as not to provoke rotting of tubers. Of the universal ready-made mixtures, soil for violets is most suitable.
The soil mixture can be prepared independently from sand, leaf and peat soil in proportions of 1: 2: 2. The soil should be disinfected by subjecting it to heat treatment.
Drainage
The delicate tubers of flower gloxinia need a drainage layer. As components for it, you can use:
- expanded clay or pebbles;
- ceramic shards;
- Styrofoam.
If you choose a pot that is too deep, the height of the drainage layer will help compensate for this deficiency.
Tuber preparation
Preparing gloxinia for moving into a new planter begins with a thorough examination of the tubers. Dry roots are removed from them and washed in water, cleaning off the remnants of the soil, after which it becomes possible to assess the condition of the tissues.
All parts of tubers that look unhealthy are removed with a sharp, disinfected knife. Slices are sprinkled with crushed activated carbon or any fungicide. The tuber treated in this way is left in the open air until the next day.
If at the time of transplanting the tuber still has not sprouted, but looks healthy, it is placed in a plastic bag with peat soil and left in a sufficiently warm and lighted place.

Leaves hatch within 2 weeks
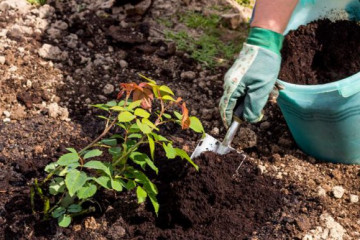
Step-by-step transplant process
The planting procedure consists of several standard steps. Procedure:
- The tubers are kept in a solution of a fungicidal preparation (Fundazol, Fitosporin or a saturated solution of potassium permanganate) for half an hour.
- The upper part of the tuber is determined, in which there is a small depression, and the lower, more convex and smooth, so as not to plant the flower on the wrong side by mistake.
- In the center of the pots, make a small hole and place the tuber in it.
- Sprinkle it on top with earth, leaving a sprout above the surface.
- They very carefully water the soil in the pot, without getting on the parts of the plant.
- To create greenhouse conditions, a transparent plastic bag is pulled over the pots and placed in a warm, well-lit place.
After the end of the transplant, gloxinia is not watered until the greenhouse is removed. The plant should be aired for 15-20 minutes daily. When the first leaves are formed, the shelter for the daytime begins to be removed.
Further care
For the early adaptation of the plant in the new container and stimulation of its flowering, it is important to provide proper care. Experienced florists recommend following these rules:
- Water gloxinia sparingly, gently distributing water throughout the pot and avoiding stagnation.
- Ensure the air temperature in the room is within + 22 ... +24 ° C, avoiding short-term drops above +28 ° C and below +18 ° C.
- Take care of sufficient illumination of the flower for 10-14 hours.

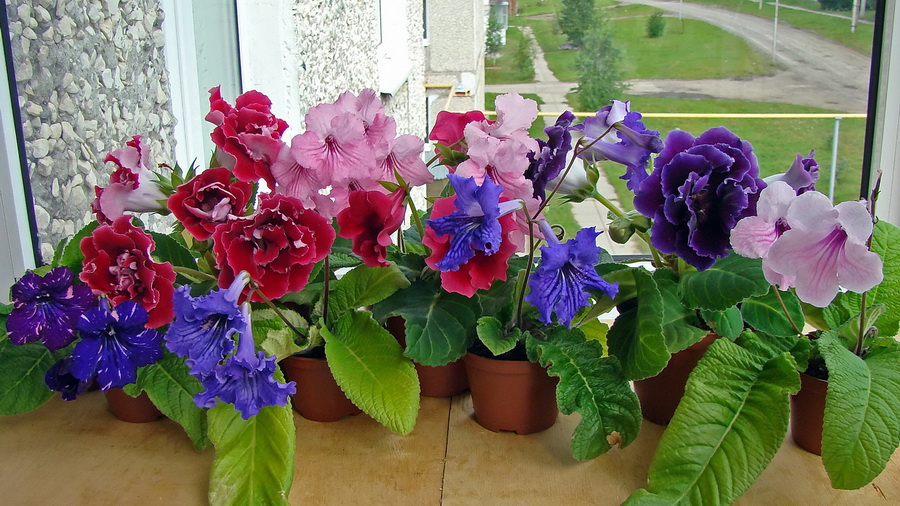
After the correct transplantation, the flower sets many buds
Even an inexperienced florist can handle a gloxinia transplant. Following the described planting and care rules will keep the flower healthy and help it bloom.